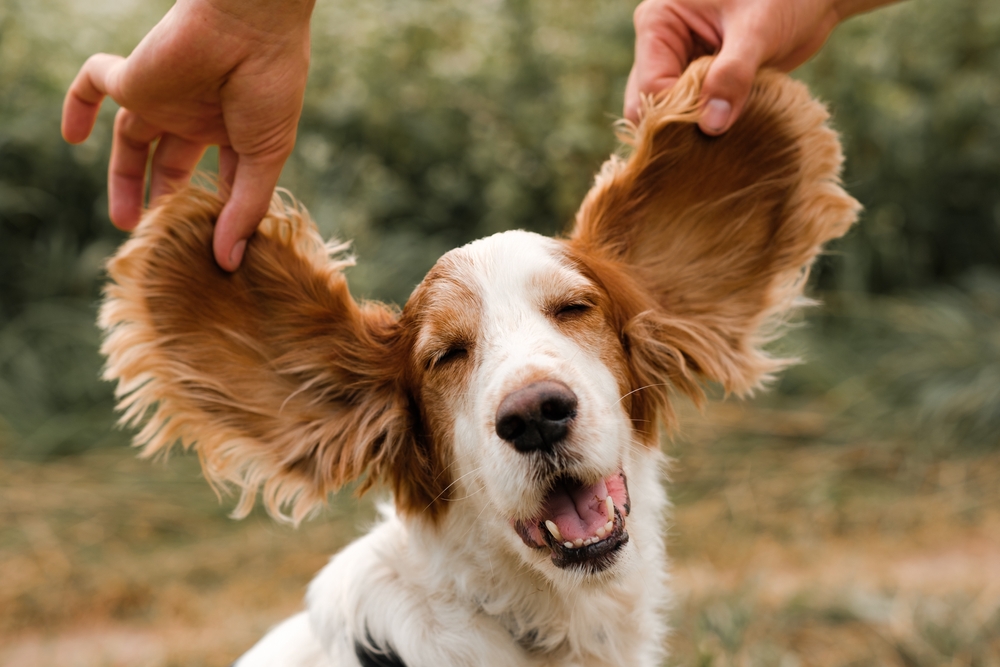
Your pet’s ears are an integral component of their safety, communication, and general well-being. However, ear infections, mites, and other ear problems are common in pets. If cleaning your pet’s ears seems daunting, our Westerville Veterinary Clinic team offers you tips and techniques you can follow to make the ear cleaning sessions easier and less stressful for you and your furry pal.
Gather your pet ear cleaning supplies
To have a successful pet ear cleaning session, you should have all the supplies you will need close at hand. Before you start, gather all the necessary supplies, which should include:
- Pet-safe ear cleaning solution — Choose an ear cleaning product that is formulated for pets. Alcohol and hydrogen peroxide are too harsh for pets’ delicate ears, so never use them.
- Cotton balls — These are necessary for drying the ears and absorbing the remaining solution, earwax, and other debris. Never use cotton swabs as they can injure your pet’s fragile inner ear structures.
- Towels or paper towels — Have extra towels on hand for easy cleanup. You can also have your pet stand on a towel to absorb dripping solution and debris during the ear cleaning session.
- Treats — Treats are essential so you can reward your pet for cooperating. Treats and verbal praise create a positive association with the task. Over time, your pet may come to enjoy these sessions!
Create a calm environment for your pet
Pets’ ears are extremely sensitive, and your furry pal can feel stress or anxiety when they have their ears cleaned. By choosing a quiet and comfortable space for the ear cleaning session, you help reduce your pet’s stress. Minimize distractions and loud noises to help keep your pet relaxed. If your four-legged friend is particularly anxious, consider playing soothing music in the background.
Easy-to-follow pet ear cleaning steps
Pet ear cleaning can feel daunting. However, the task can be simple and effective when you follow these steps:
- #1: Allow your pet to investigate — Before you begin cleaning your pet’s ears, allow them to sniff the ear cleaning solution and the other supplies. This helps your furry pal become familiar with the items and reduces their stress level. Reward your pet with treats and praise for calm behavior while they investigate.
- #2: Gently lift the ear — Hold your pet’s ear flap and lift it, exposing the ear canal. Be gentle and avoid pulling or tugging on the ear, as this can cause discomfort.
- #3: Assess the ear — Look for ear problem signs, such as excessive wax, odor, redness or inflammation, or discharge. If your pet has an ear problem, discuss the issue with our Westerville Veterinary Clinic team before proceeding with ear cleaning. If your pet has an ear infection or other ear problem, cleaning may further damage their ear.
- #4: Apply the ear cleaning solution — While holding the ear flap upward, squirt a small amount of solution into the ear canal. Be careful not to insert the applicator tip too deeply into the ear. Massage the base of the ear gently for about 30 seconds to help the solution loosen dirt and debris.
- #5: Allow your pet to shake their head — Your pet will naturally want to shake their head after the solution is applied. Encourage this because head shaking helps rid the ears of remaining solution and debris.
 #6: Wipe their ears — Take a cotton ball and gently wipe away any visible dirt or debris from the ear canal. Avoid pushing the cotton ball too far into the ear, as this can damage the eardrum. If your pet’s ears are particularly waxy, you may need to repeat the cleaning process. Always use a fresh cotton ball for each ear to prevent bacterial spread.
- #7: Reward your pet — The reward is, of course, your pet’s favorite part of ear cleaning. Once you’ve finished cleaning their ears, reward your furry pal with plenty of treats and praise. This positive reinforcement helps them associate ear cleaning with a pleasant experience, helping ensure your pet is less resistant the next time you clean their ears.
Regular ear cleaning is an important pet care responsibility and should be included in their grooming regimen. Yes, we understand the task may be uncomfortable at first, but with practice, patience, and rewards, your four-legged friend will consider it routine.
By following these simple steps and maintaining a calm and gentle approach, you can keep your pet’s ears clean and healthy while strengthening the bond between you and your furry family member. If cleaning your pet’s ears seems like an overwhelming task, schedule an appointment with our Westerville Veterinary Clinic team, and we can give you additional pointers on pet ear hygiene.


Leave A Comment